Roll Cage Installation Part #3
Posted on Feb 29, 2016OK, part #3. Final part? Read on..................
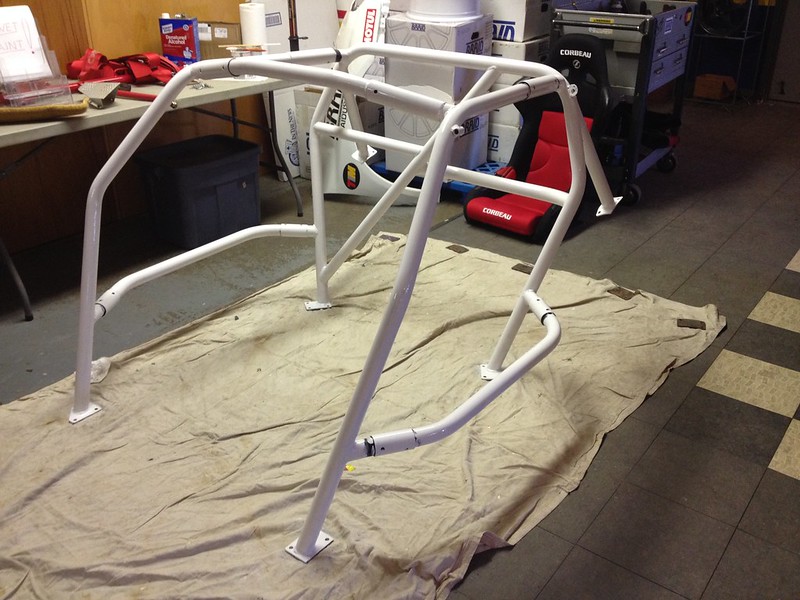
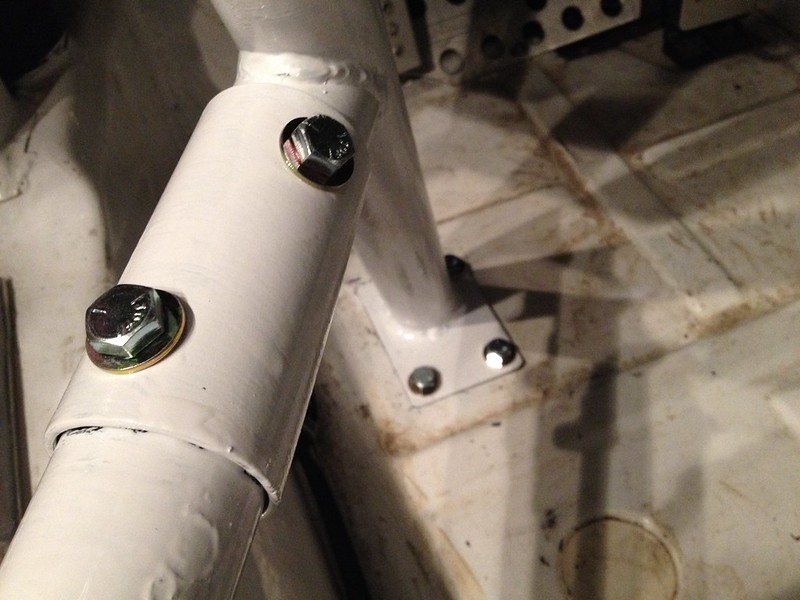
Painting took just two coats of brushed on Rustoleum; the same and left over paint we used for the interior. It was a bit of chore having to paint all round each tube and, because we didn't want to remove the sleeves again, required a bit of touch up later. But it is done and we think looks cracking!
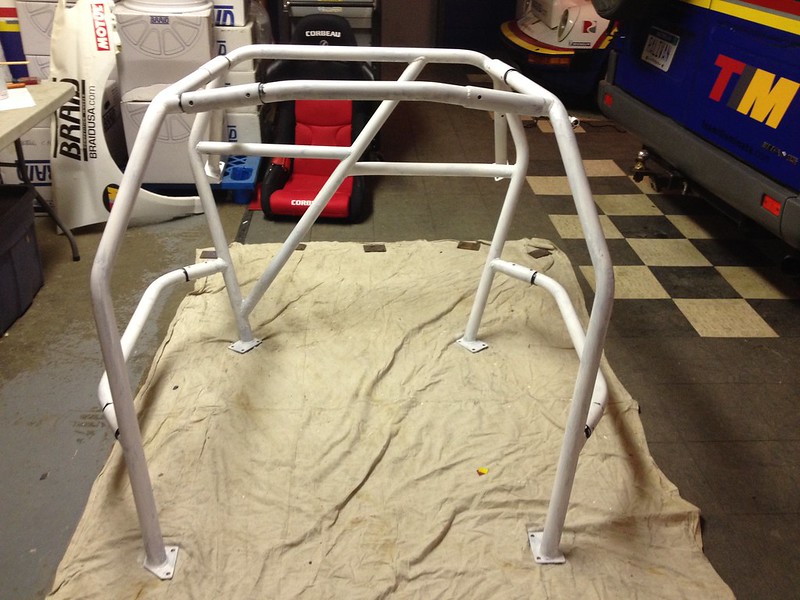
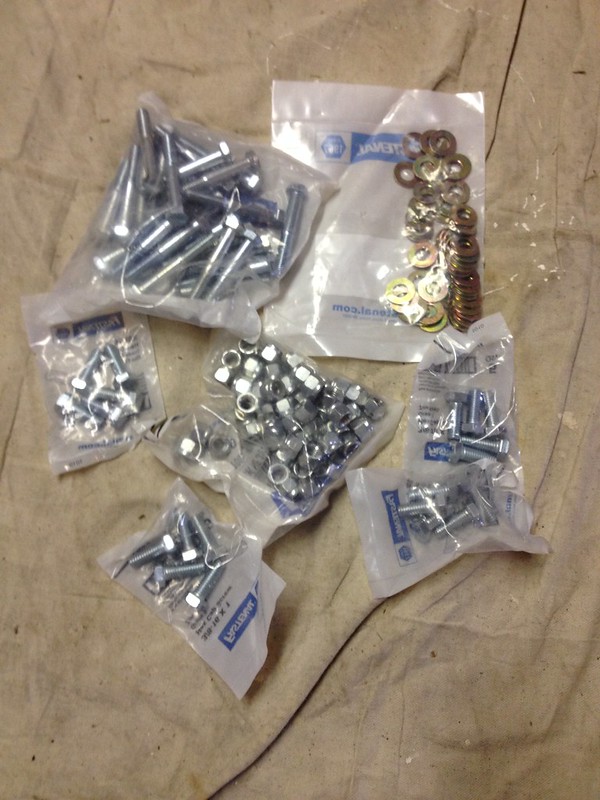
While it was drying we ran to Fastenall to get some new hardware. We didn't like the black allen screws that came with the kit and wanted new nylock nuts too.
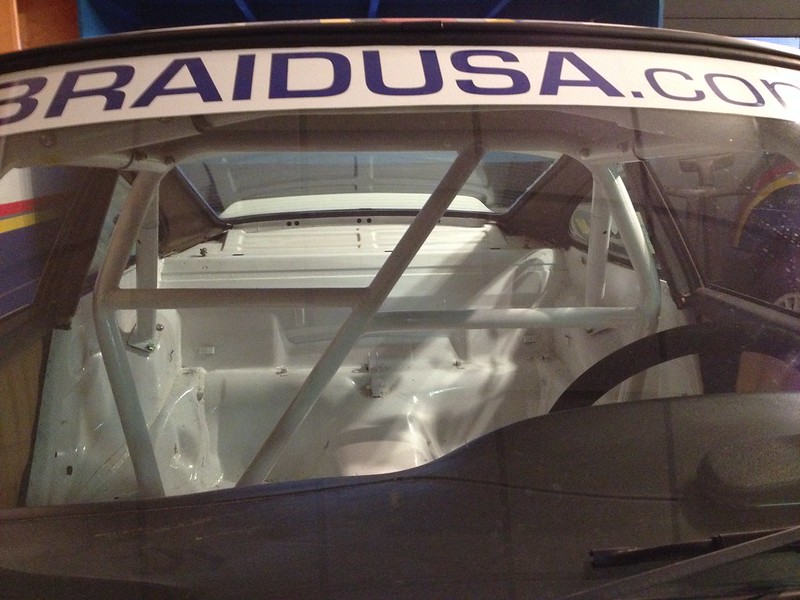
Then we threw it back in the car. cinched everything down and it fit perfectly.
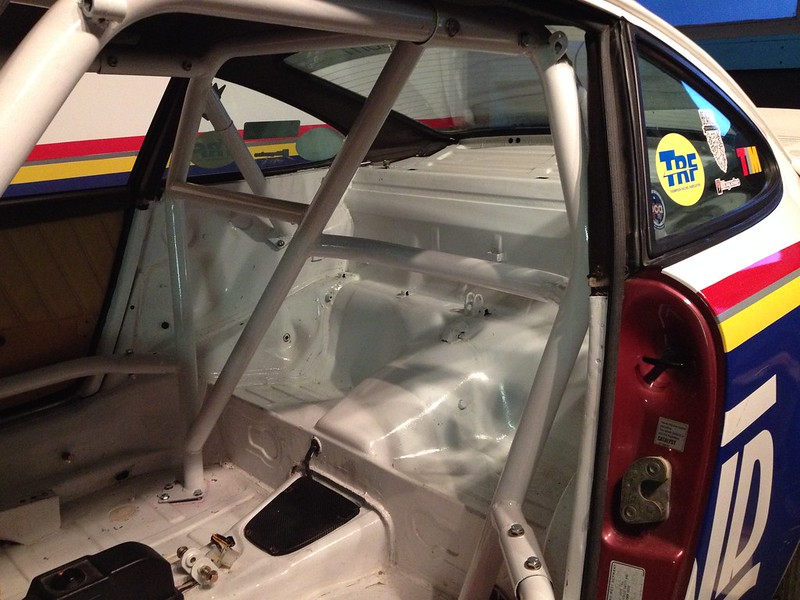
Then we put the seats and belts back in to complete the project. Well, so we thought.
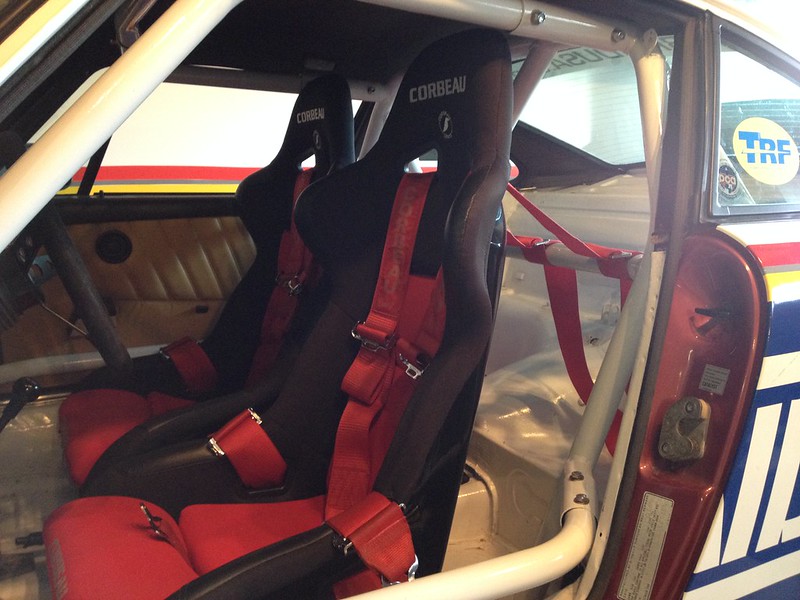
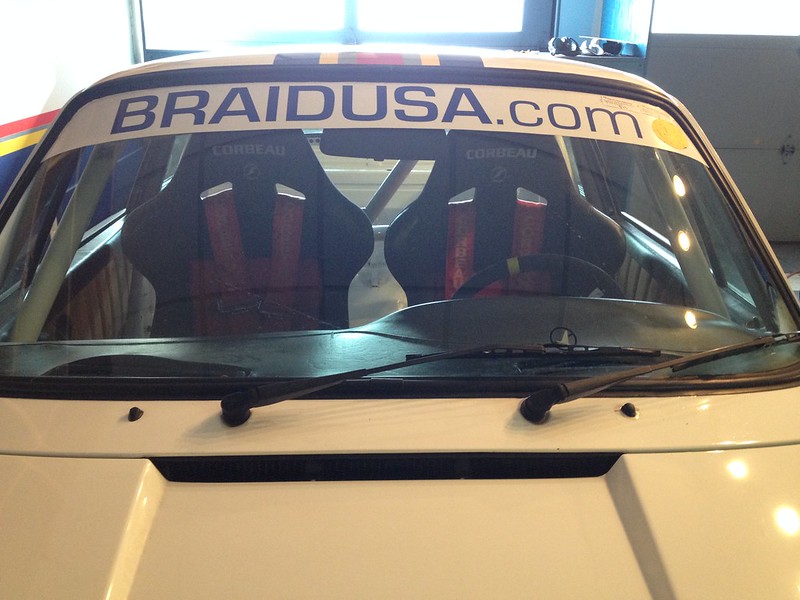
As you can probably see the seats sit too high; both for shoulder belt angle and head to cage relationship. Unfortunately we don't see any way to get them lower without cutting the existing mounting pads away and fabricating new ones and that is definitely another project so this one is done.