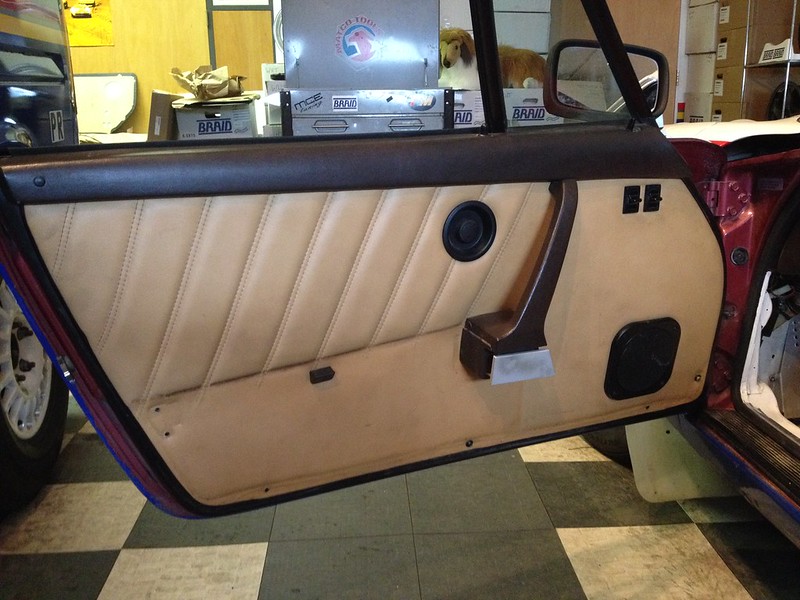
RENNLINE 911 Door Cards Installation Instructions
Posted on Mar 09, 2016We recently installed some of these RS inspired door cards from RENNLINE on our 84 911 Carrera but as they don't ship with instructions we thought we'd write some.

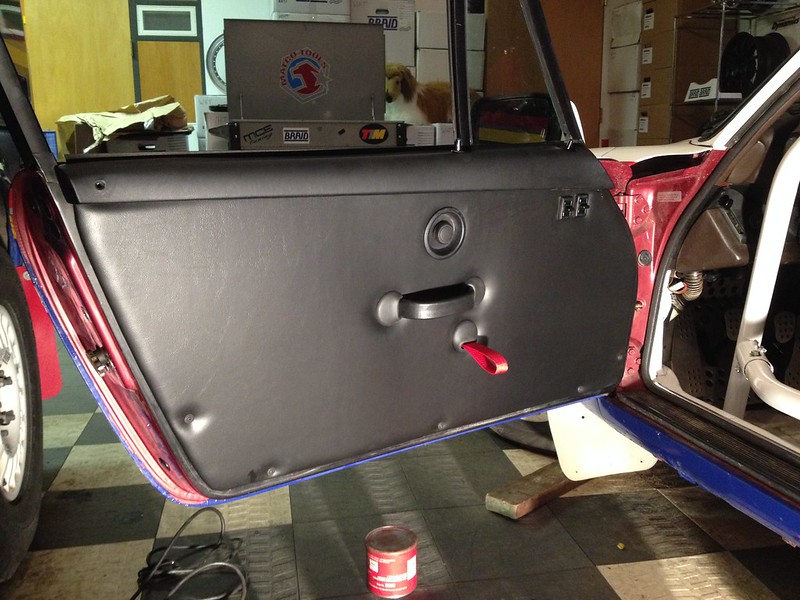
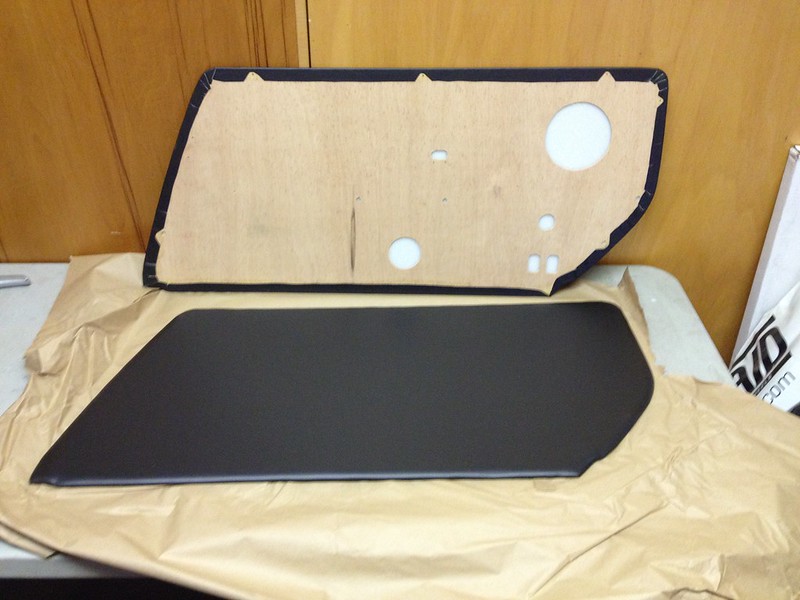
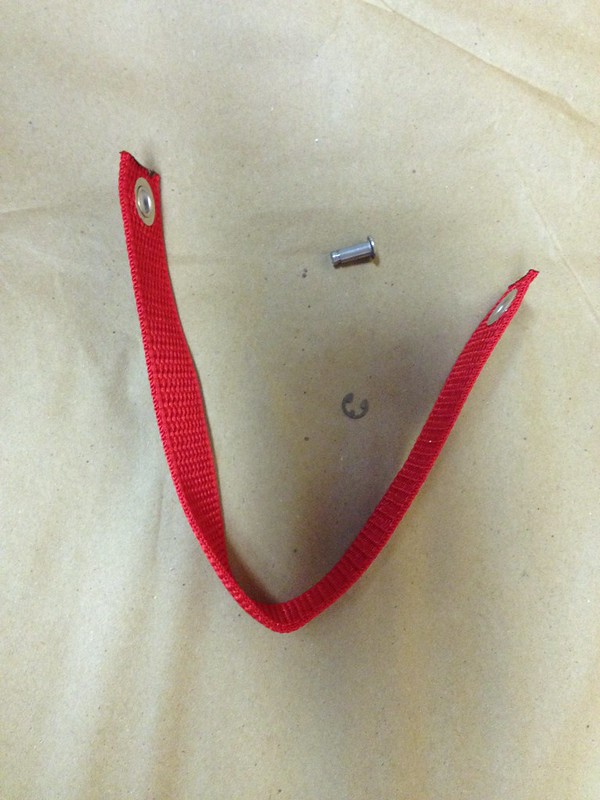
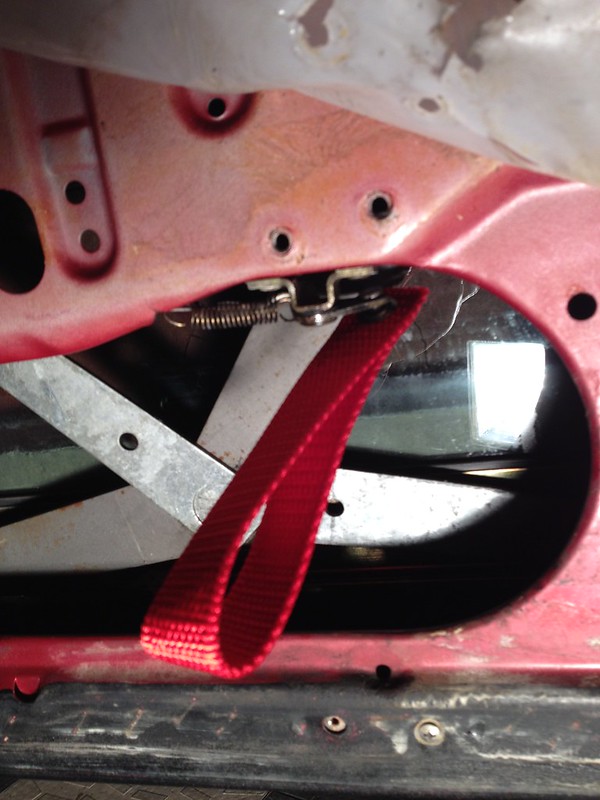
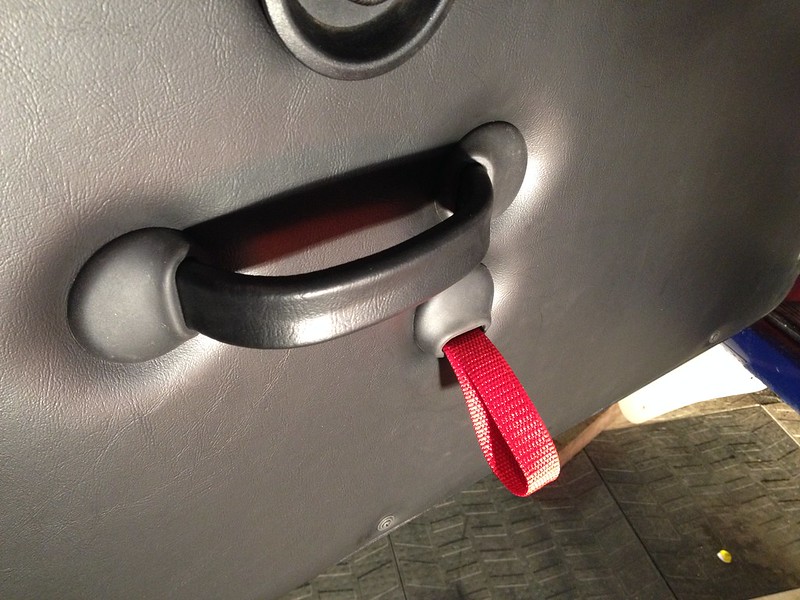
These high quality, black leather door cards from RENNLINE are simple looking and retain all the functionality of the originals in terms of switch gear etc. One bonus is that they replace the unusual and hard to explain door latch handles with a rather nifty red pull strap. They also save a little weight which is always nice. They come with everything you need to complete the swap making it a very easy job.

It is a very versatile kit that comes with all the cutouts already made. All you do is cut out the leather from the holes you need and leave the others in place.
The first thing to do, obviously is to set about removing the old door cards. The details vary depending on you actual model but the principles are all very similar if not identical to ours. Our door pockets were already removed as they interfered with the door bars on the cage. On ours there were Phillips head screws along the bottom edge, one at the top rear corner and one at the door handle.
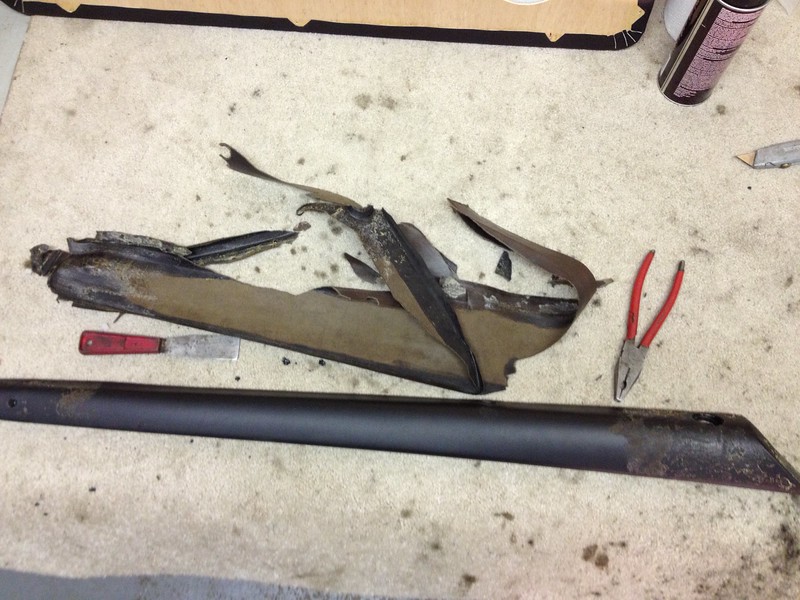
Removing all the other doodads from the door is pretty easy.The door caps are held on by two screws; one under a cap at the rear in the and the front one is accessed with the door open. If you have electric mirrors you will have to unplug the connector from the switch once you have lifted the door cap up for access. Then it should pop right off.
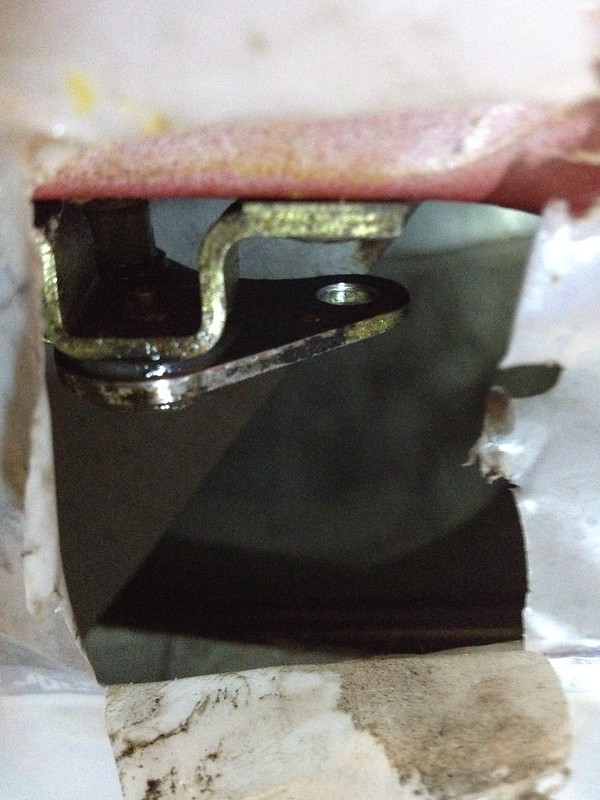
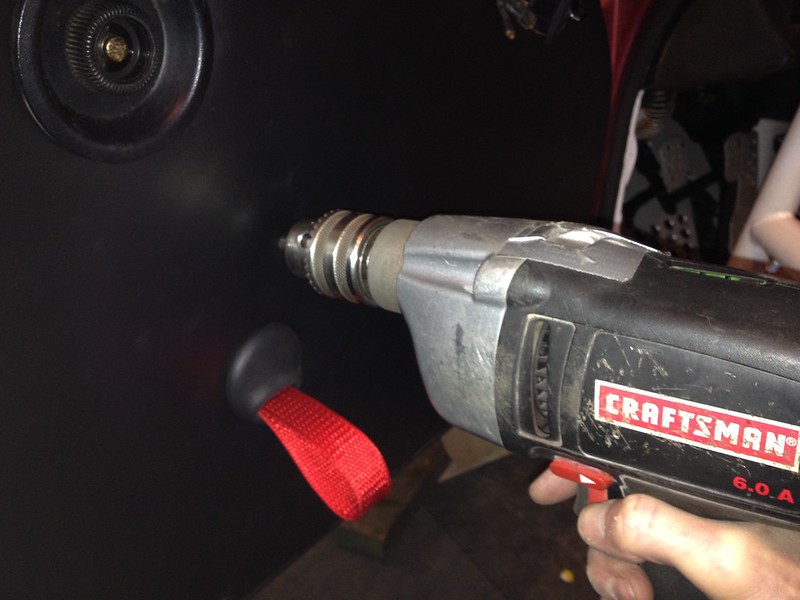
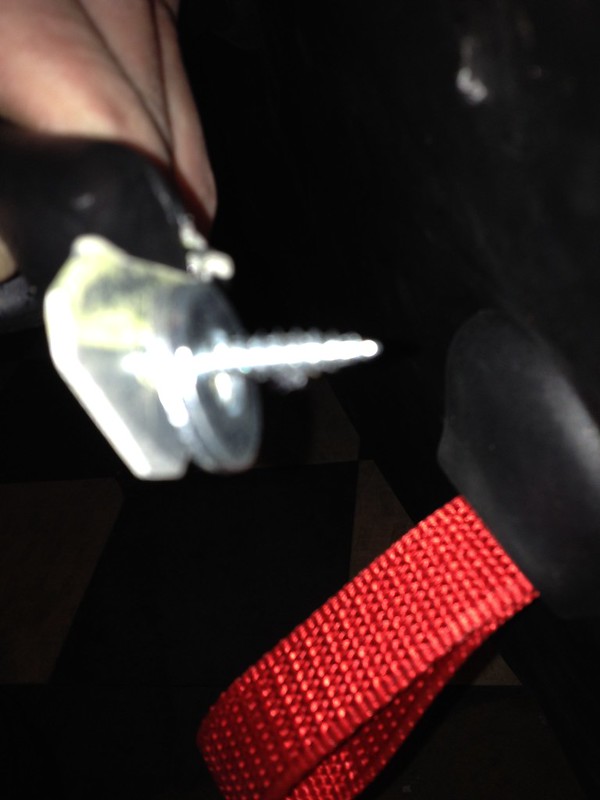
Before you can remove the grab handle you have to unhook the latching actuator from the door handle latch paddle. We just popped it off with a long screwdriver. The handle itself his held on by two Allen screws in the top and two in the bottom.

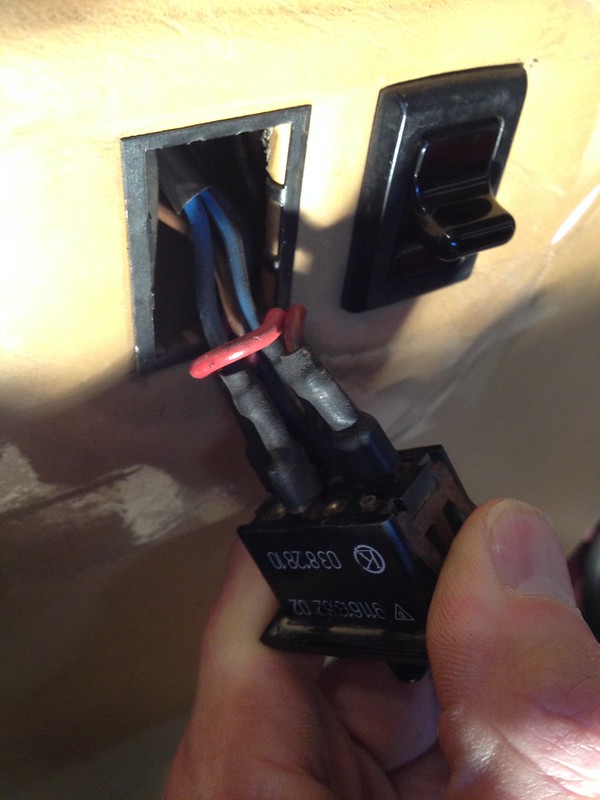
The electric window switches pry out with a wide flat blade screwdriver. Make sure you are not prying on the metal bezel surround as this stays in place, for now. Ours were rather a tight fit but came out easily if we worked our way around. It is a very good idea to take lots of pictures of the wiring as it is not obvious how they go back once disconnected and there is not a lot of slack.
If you are swapping over the door speakers to the new door cards you can unscrew them now. Four Phillips screws hold the covers on and some more the speakers themselves. Pull the two wires from the connectors on the speakers once you have clearance.If you want to leave them in place it is easy to disconnect the connectors once the door card is freed from the door. Just don't forget.
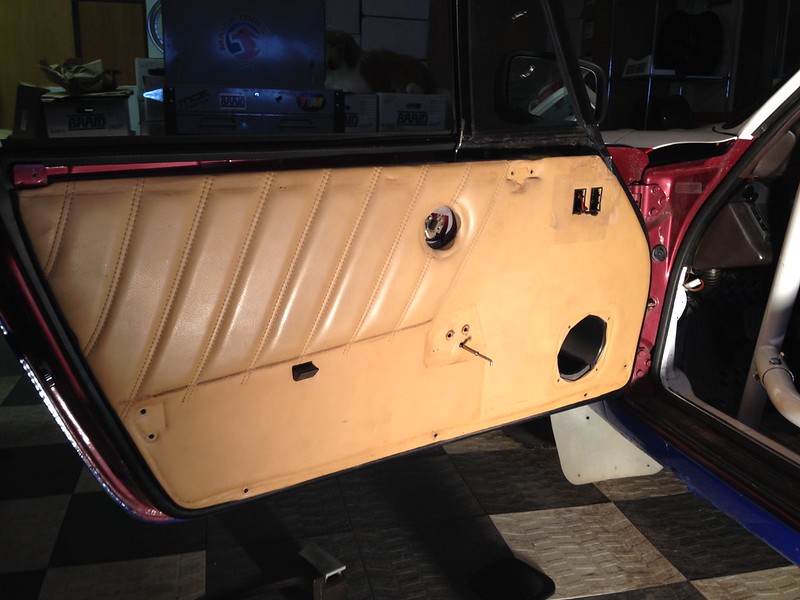
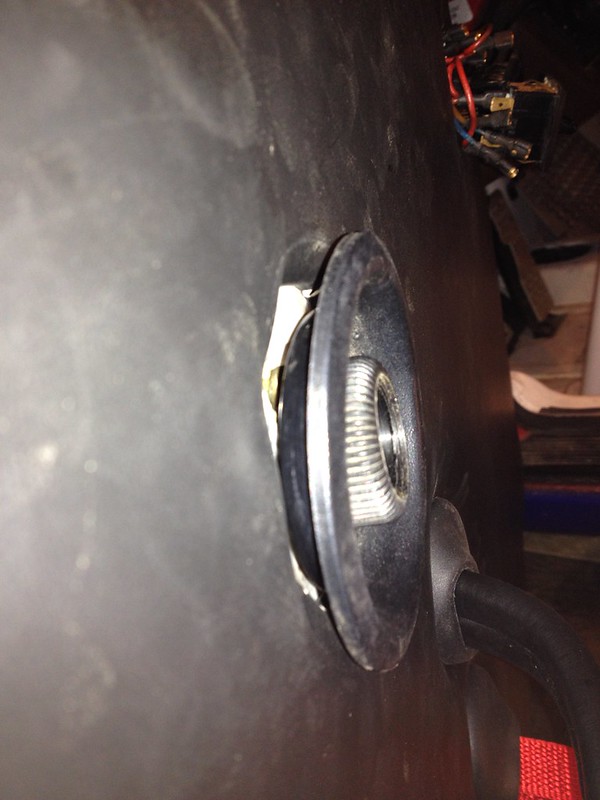
The round door lock is held on by one screw. Just pry off the cap and undo the screw and it all comes away nicely. Your door should now look like ours above.
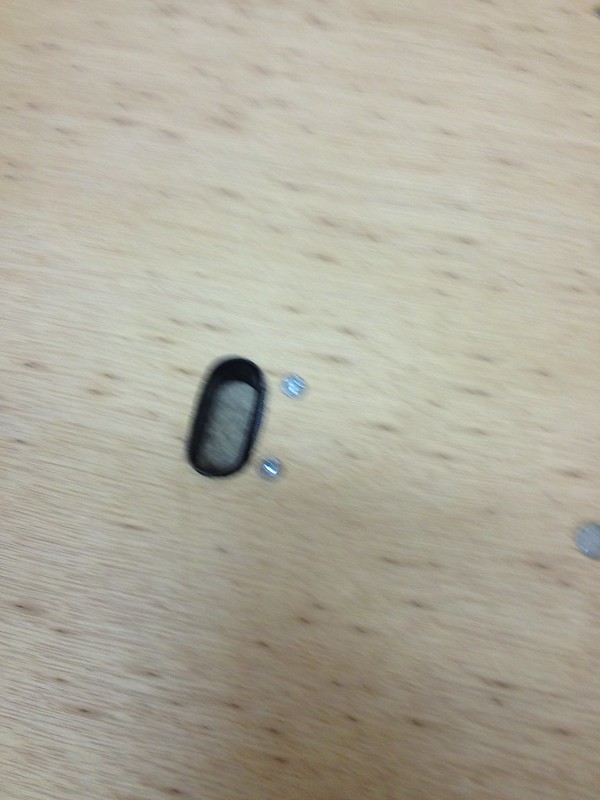
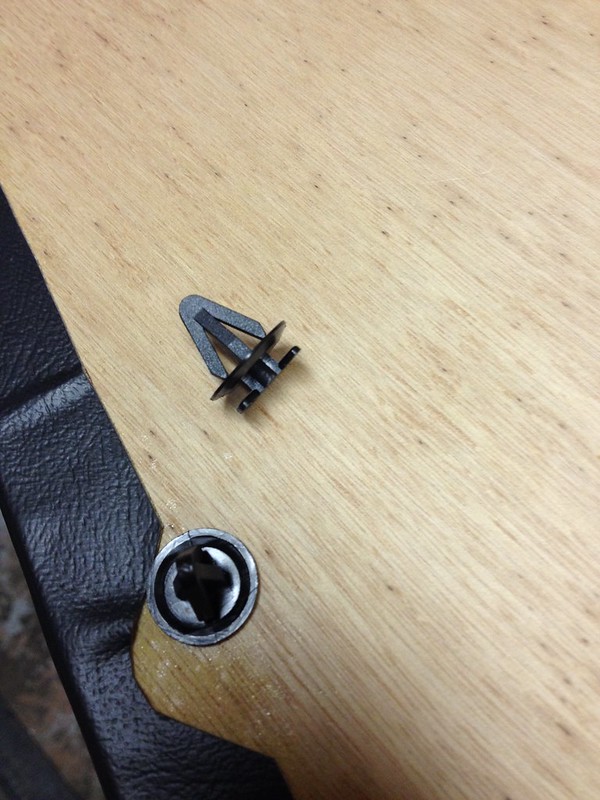
The door card itself is held on by a combination of screws and push pins. The pins are on the front and rear edges about half way up. Ours had two at the front and two at the rear. You can pop them with a flat blade screw driver or special tool. Ours came out easily. The screws are along the bottom with one up the sides on the front and one at the rear. If you just took off the door pockets these may already be out. Now your door should look like this:
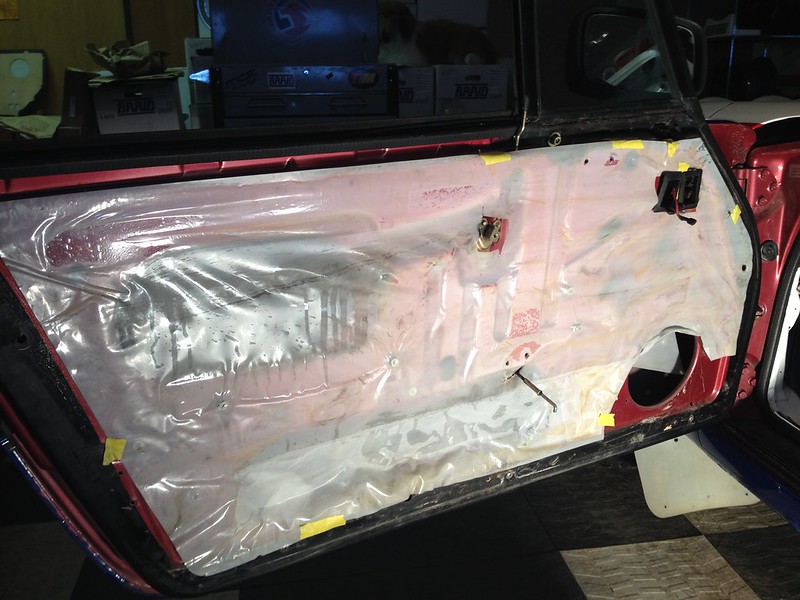
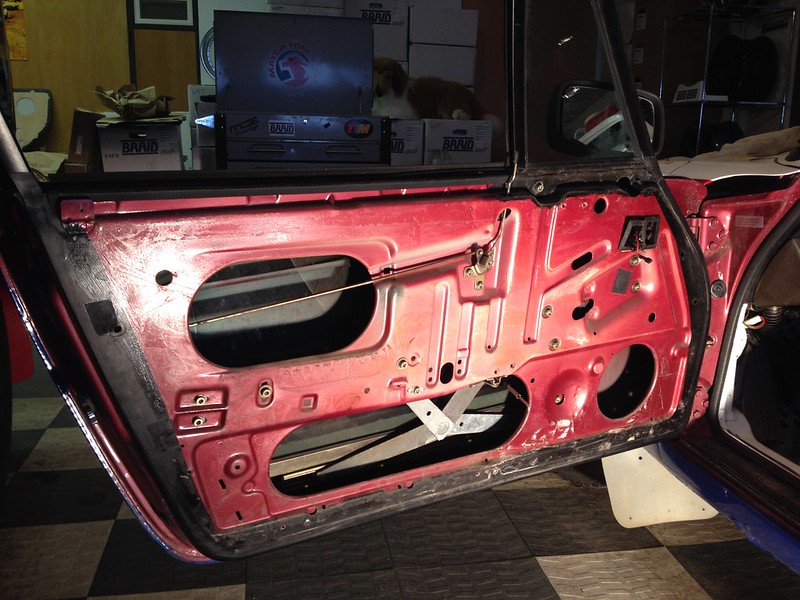
The moisture barrier just peels off. It will peel off very easily if it has been removed more than a few times in the past. Ours was held on by not very OE looking masking tape. Then you get this:
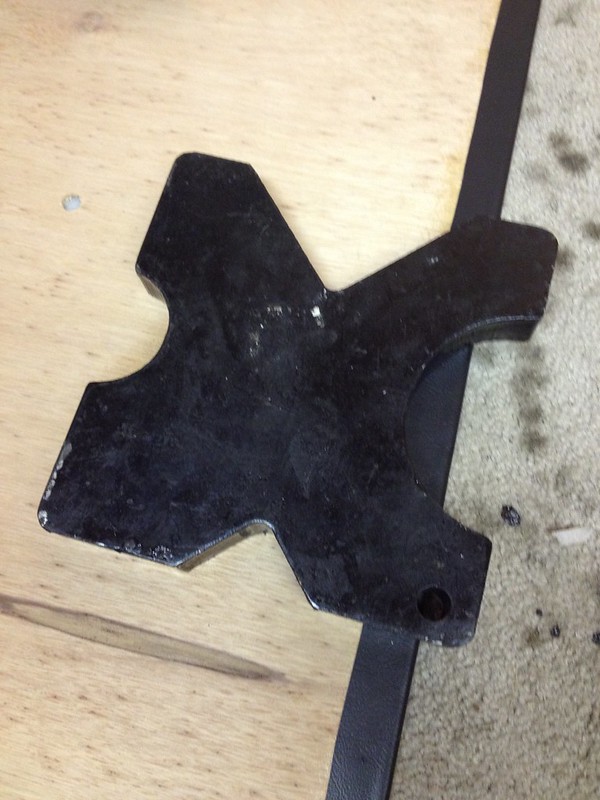
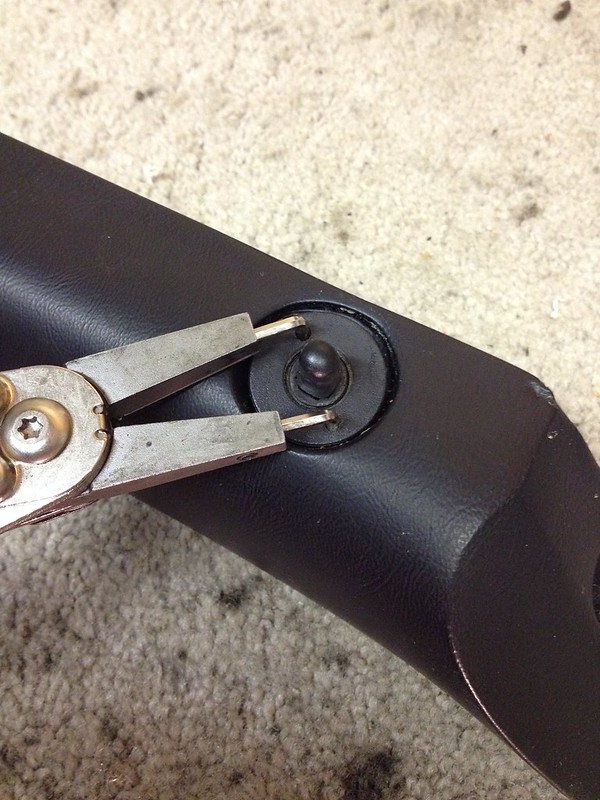
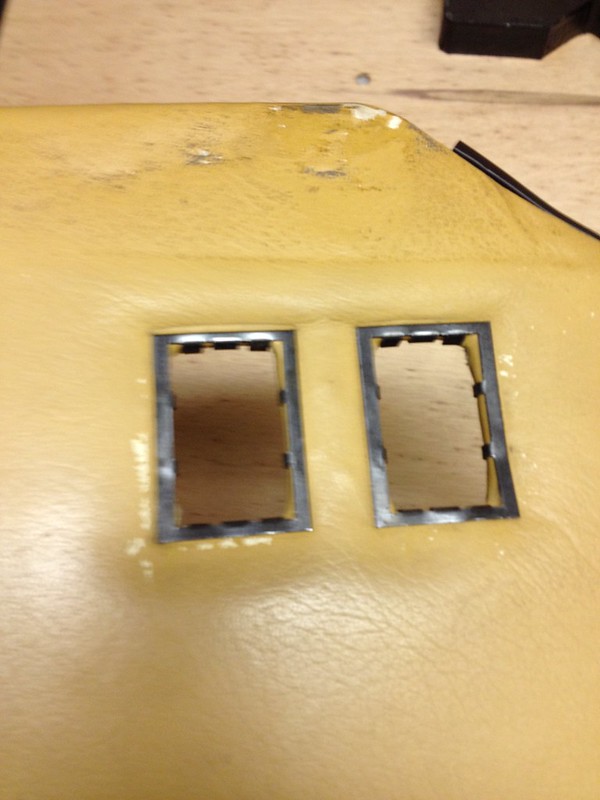
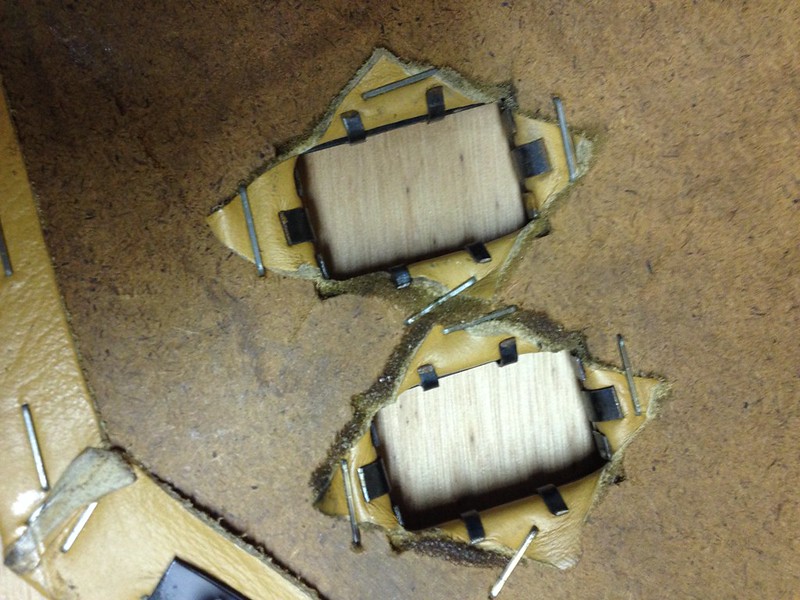
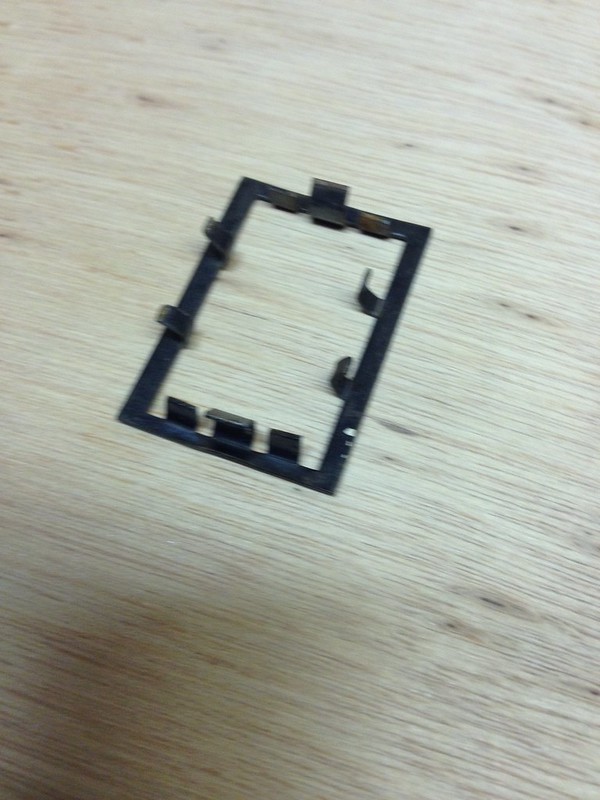
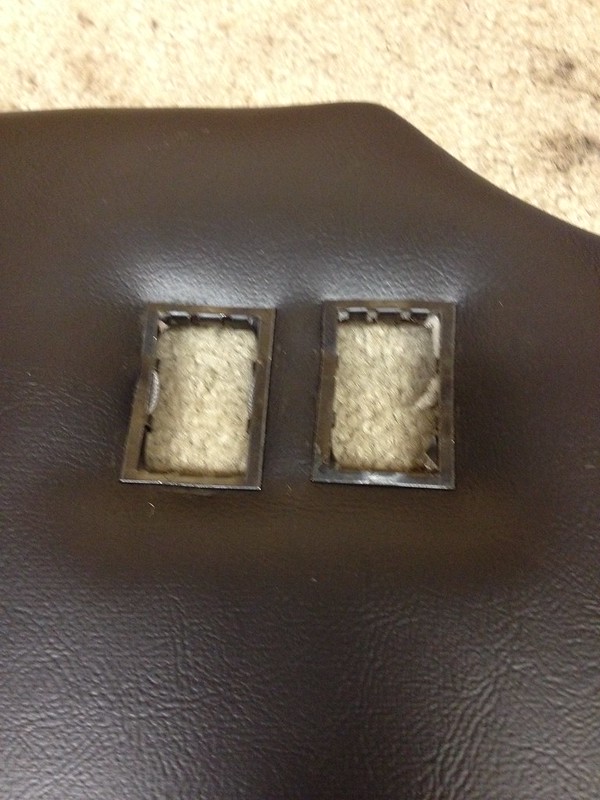
We mentioned to be careful not to damage the power window switch bezels when removing the switches. We now you have to remove those bezels and transfer them to the new door cards or your switches will flop about. We found the tabs holding them in place responded well to a pair of needle-nose pliers and the same tool worked well to secure them into their new homes, though ours seemed a bit cockeyed for some reason.
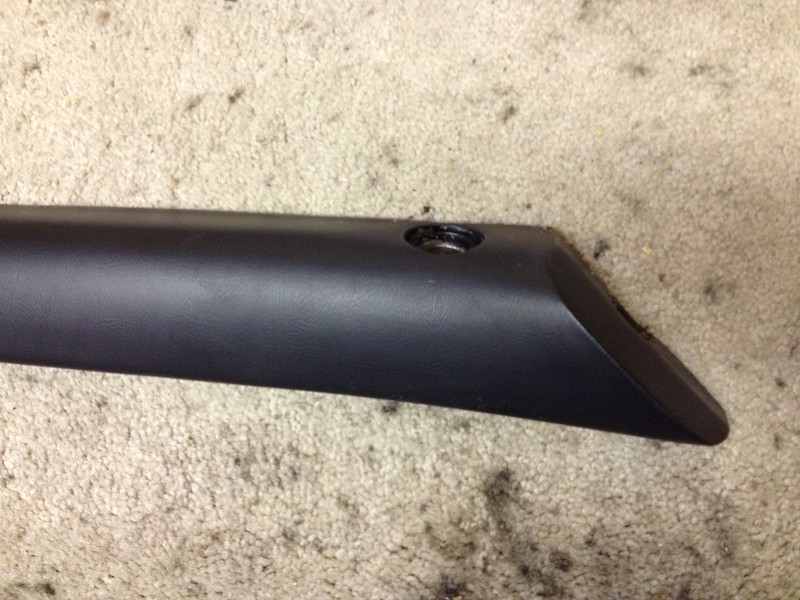
The last job is to tidy it all up by reinstalling the door caps but ours were brown! We discovered that they were covered in leather from the factory but it peeled away easily to reveal patterned black plastic below. After removing a bit of old glue they looked like new and matched the new door cards perfectly :)