Heater Control, Venting and Air Inlets for our Rally Quattro Build
Posted on Mar 11, 2021
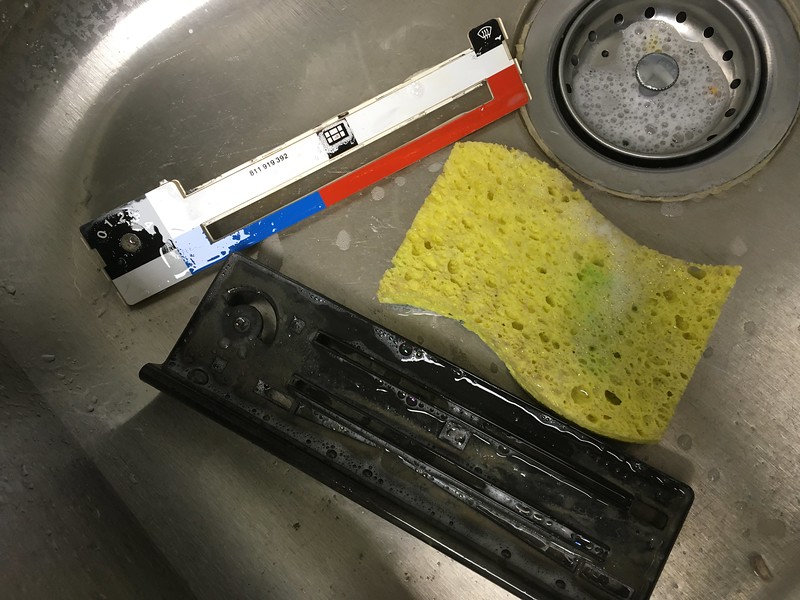
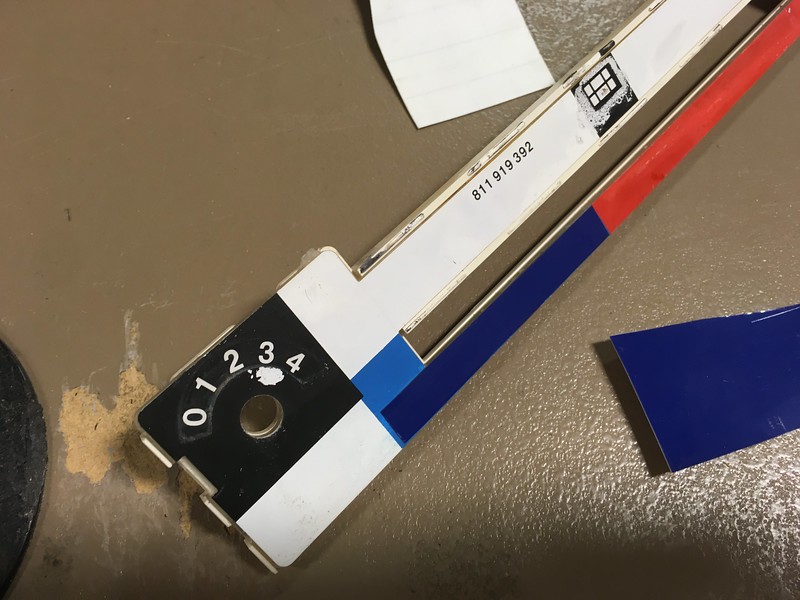
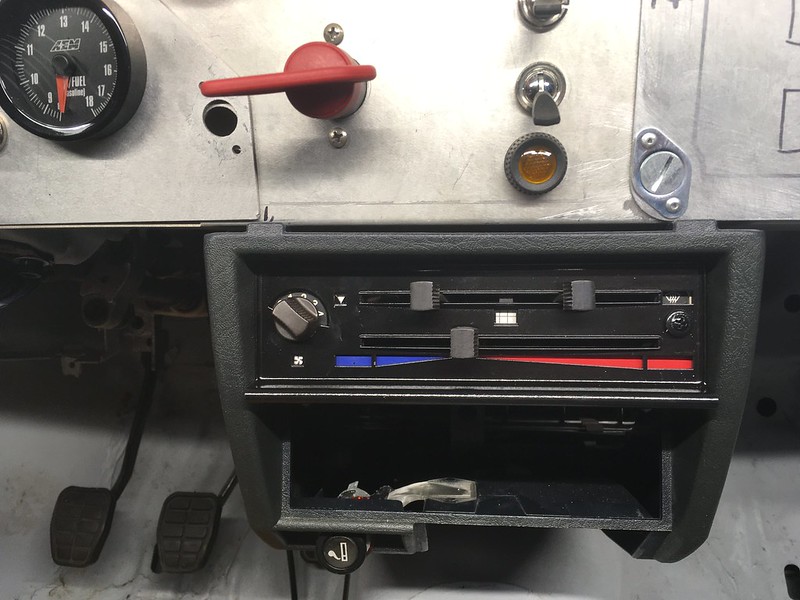
This week we turned our attention back to the heater control panel which we hadn’t installed because it needed refurbishing. The plastic was faded and the legends needed a good clean.

So we split it in two, gave it a good scrub, re-made the legends, hit it with some plastic paint, slapped it back together and installed it.


With that looking spiffy we thought we’d tackle the vents. The works cars used some OE vents mounted either side of the center console. We couldn’t fit ours because we still have the ignition key barrel and the inlets on ours are on the sides and we needed them to come out of the rear.

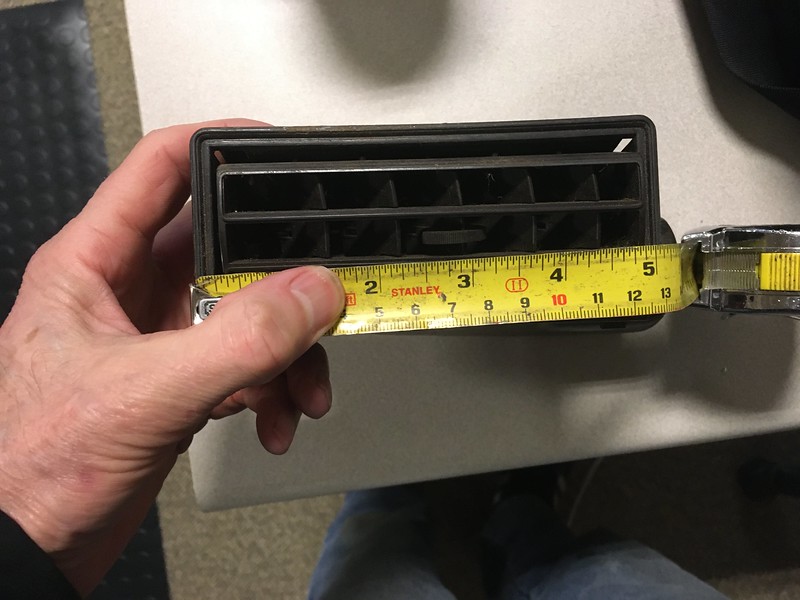
Fortunately you can buy generic ones on the interweb that are the right width and are fed from the rear.
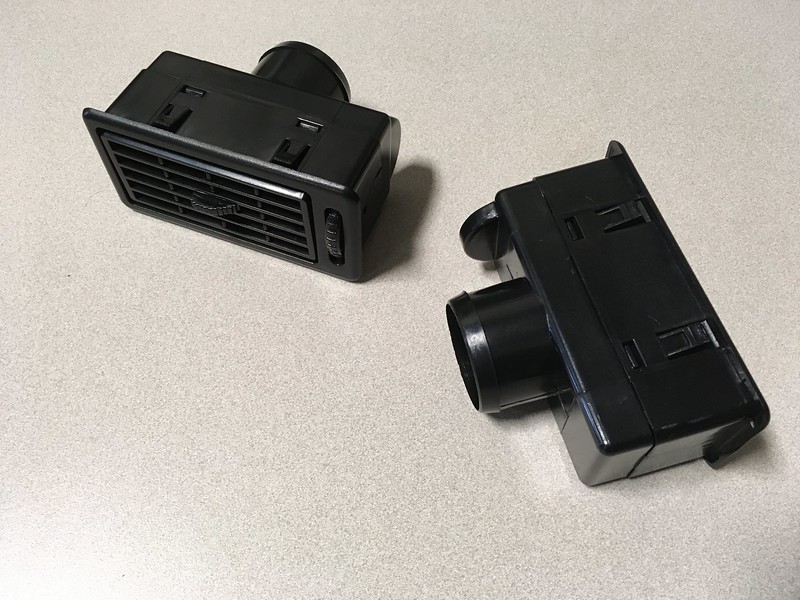
The only way we could come up with to mount them was to use some low profile allen screws up through the dash panel above but in order to do that we had to disassemble them first.

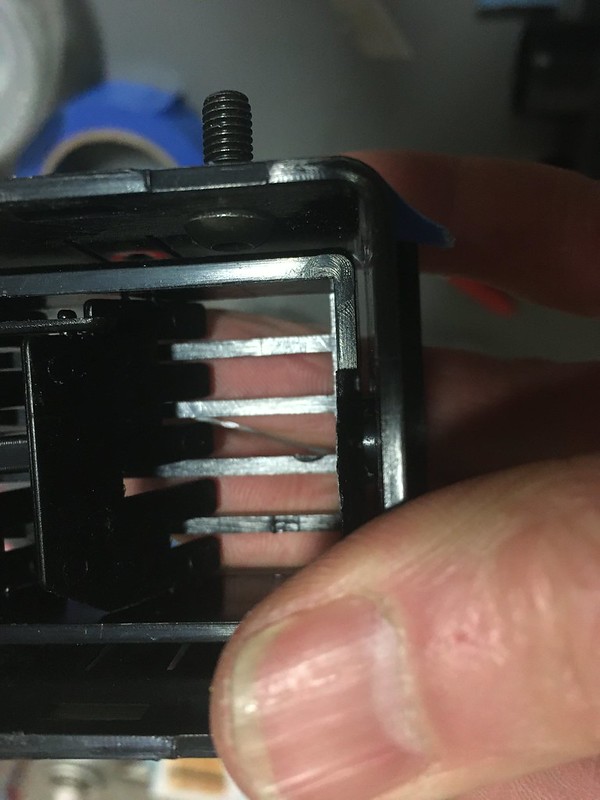
Then file the mounting tangs flat so they would fit flush.

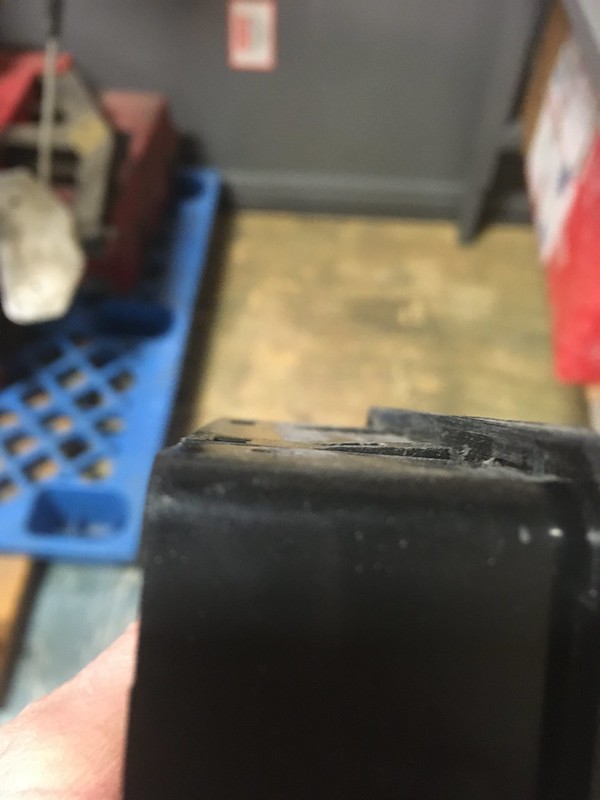
And then just a little more fettling before they fit perfectly and look like they belong there.


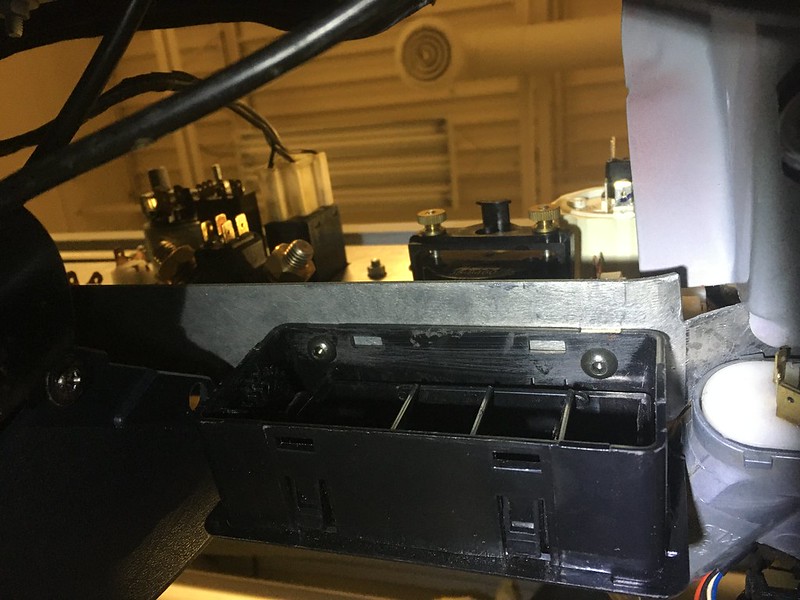

Of course now we needed to feed some air to them. They’re no good just looking pretty. They need to function too. We ordered a few feet of flexible ducting from Pegasus in the size we thought would fit. One end fit inside the outlets in the air box and the other, with a bit of padding with some tape, fit on the inlet to the vent. Looks very professional in our opinion.
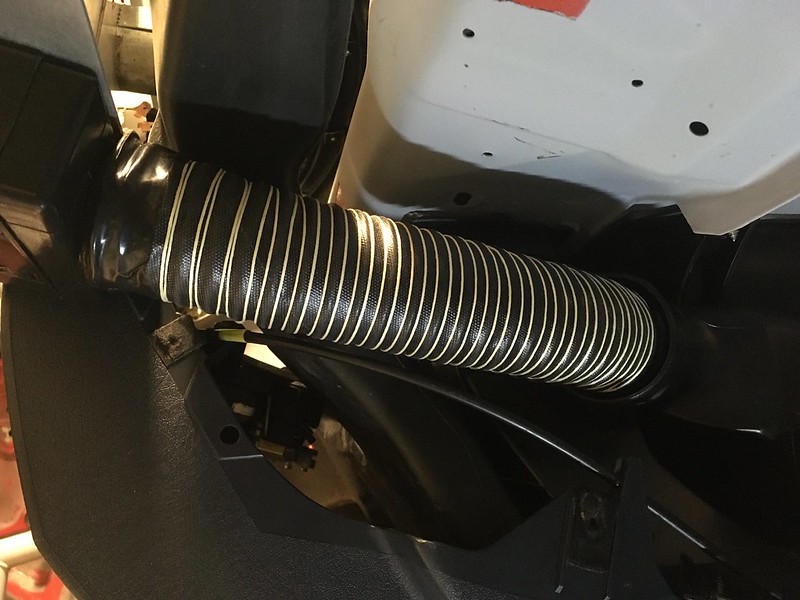
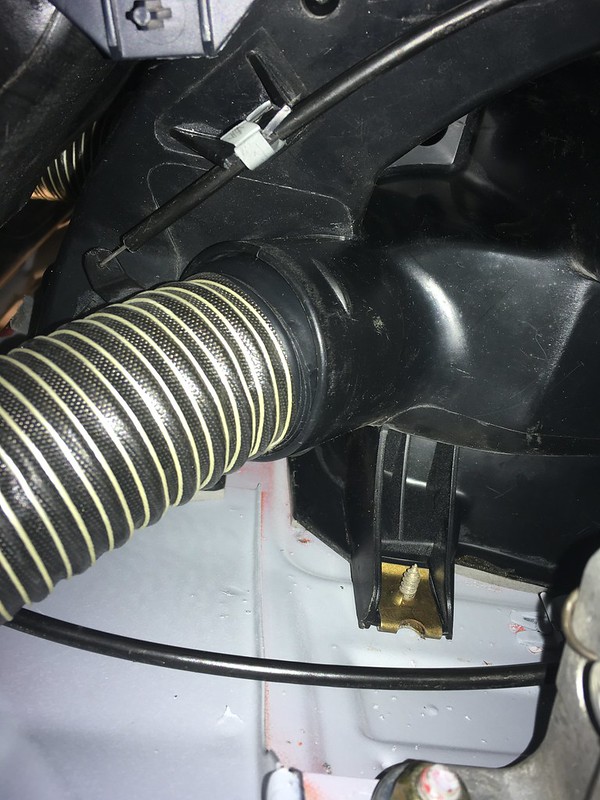
We also wrangled the convoluted plastic tube for the side vents into place but we don’t know if we will be able to retain it as it passes right behind the dash where, ultimately, hundreds of wires need to go. For this reason we didn’t bother terminating them yet but did offer up a piece of silicon hose to mimic he orientation.


So we split it in two, gave it a good scrub, re-made the legends, hit it with some plastic paint, slapped it back together and installed it.


With that looking spiffy we thought we’d tackle the vents. The works cars used some OE vents mounted either side of the center console. We couldn’t fit ours because we still have the ignition key barrel and the inlets on ours are on the sides and we needed them to come out of the rear.


Fortunately you can buy generic ones on the interweb that are the right width and are fed from the rear.

The only way we could come up with to mount them was to use some low profile allen screws up through the dash panel above but in order to do that we had to disassemble them first.


Then file the mounting tangs flat so they would fit flush.


And then just a little more fettling before they fit perfectly and look like they belong there.


Of course now we needed to feed some air to them. They’re no good just looking pretty. They need to function too. We ordered a few feet of flexible ducting from Pegasus in the size we thought would fit. One end fit inside the outlets in the air box and the other, with a bit of padding with some tape, fit on the inlet to the vent. Looks very professional in our opinion.


We also wrangled the convoluted plastic tube for the side vents into place but we don’t know if we will be able to retain it as it passes right behind the dash where, ultimately, hundreds of wires need to go. For this reason we didn’t bother terminating them yet but did offer up a piece of silicon hose to mimic he orientation.


