Sealing the Rear Bulkhead
Posted on Aug 25, 2022We finally installed and sealed the rear, aluminum bulkhead that we have had in and out of the car quite a few times. It’s never coming out again now though.
The bulked, supplied by TRF, is in two parts. One is essentially a parcel shelf and the other the more bulkhead-like vertical divider between the passenger compartment and the trunk, that contains the fuel tank. For this reason, we thought it was important to seal it up as much as possible. Not only that, we felt it necessary to seal all the cavities in the body that provide passageways between the two compartments. Turned out there was a lot of them so our first job was to seal them up with fire resistant expanding foam.

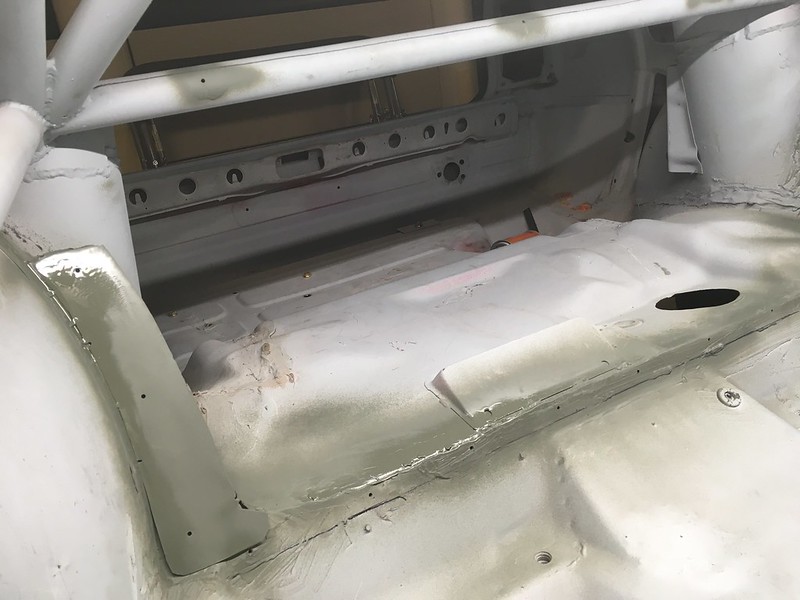
Then we moved on to the lower bulkhead. This piece rest against the strut brace bar of the cage which is by default totally sealed off from the trunk. For this reason, we were able to rivet the it in place, but only with a couple of rivets for now as it gets overlapped by the parcel shelf piece. The bottom edge rests up against a small flange left when TRF cut the original bulkhead out. This flange is also a hollow section sealed off from the trunk so we felt comfortable using rivets there too. The side however, rests against flanges that are not sealed off from the trunk so we used self-tapping screws along these edges so fuel could find its way through the holes in the rivets, should we be unfortunate enough to end up upside down with a damaged tank.
We sealed the sides and bottom edges with a bead of seam sealer before synching it down with the rivets and screws. We didn’t need any sealer along the top as that edge would be lapped by the parcel shelf next, with a layer of seam sealer between the two.


The parcel shelf portion was more complicated however. Apart from the front, which as mentioned overlaps the lower bulkhead, it sits on a flange left by the original bulkhead on three sides. However, these flanges are not flat so we had to build some spacers, particularly along the rear or the sheet would be deformed. We used small set screws and nuts around these areas as they were not sealed from the trunk. We could have used self-tapping screws again but we felt they might have posed a hazard to anyone reaching into the trunk with their hands so opted for the screws, spacers and nuts instead. As we were using a bead of seam sealer along the front edge, we had to test fit everything first as we knew we would only get one shot to install it. So, we ran the bead of seam sealer, lowered the plate into place, riveted it to the strut bar and then added the screws, spacers and nuts to secure it in place. This left a lot of voids under the other three edges so we filled them with more fire-resistant foam. Then we ran seam sealer around all the edges on the inside of the passenger compartment.

You might think this would complete the bulkhead project but we had one detail we really wanted to incorporate from the works cars: bracing bars on the lower bulkhead. We had these pieces formed out of sheet aluminum and cut them at 45 degrees to form an upside down V. Then we attached them with self-tapping screws as they protrude into the trunk. We felt it was safe to use the self-tappers as they will be shielded from prying hands by the fuel tank. Yes, we checked to make sure they wouldn’t screw into that too.

